How to Print Photos at Home That Look Right
Choose the right paper, match your print settings to it and size your images correctly for sharper, truer photo prints.
- 3 min read
- 11 steps
- Last reviewed
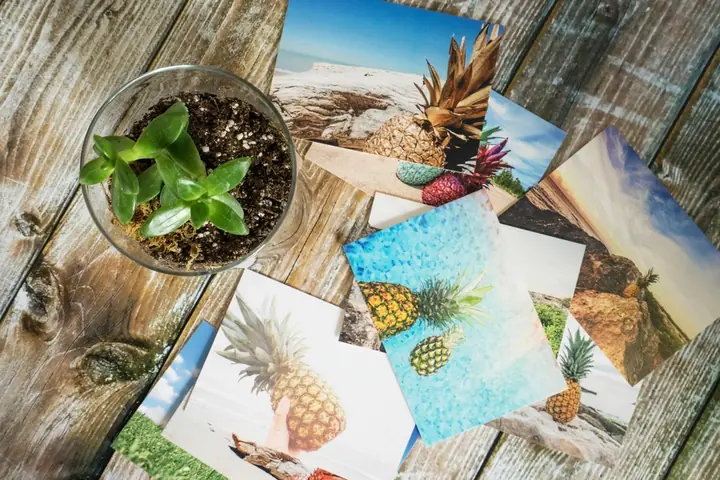
Photo prints at home can look excellent, but only when the paper, the print settings and the image all match. Most disappointing results (dull colours, smudges, banding or blurry pictures) come from one of those three being wrong rather than from the printer itself.
When this guide applies
- Your photo prints look dull, too dark or have a colour cast.
- Ink smudges or takes a long time to dry on the paper.
- Prints look blurry or blocky even though the photo looks sharp on screen.
Common reasons photo prints disappoint
- 01Paper type setting does not match the paper
- The printer lays down ink differently for plain and photo paper. The wrong setting causes smudging, banding or washed-out colour.
- 02Printing on the wrong side
- Photo paper has one printable coated side. Printing on the back gives smeared, poor results.
- 03Low-resolution image
- A small image enlarged to a big print looks soft or blocky however good the printer is.
- 04Screen and print look different
- Screens glow with light while prints reflect it, so a bright screen can make prints look darker than expected.
1. Choose and load the right paper
Use photo paper made for your printer type
Inkjet photo paper is coated to hold liquid ink. Laser printers need paper rated for laser use, because ordinary inkjet photo paper is not designed for the heat of the fuser.
Pick a finish
Glossy paper gives vivid colour and deep blacks, while matte or satin finishes reduce reflections and fingerprints.
Load it the right way up
Check the paper packaging and your printer’s manual for which side faces up or down. The coated side usually looks brighter or shinier. Load only a few sheets at a time and use the tray or slot the manual recommends for photo paper.
2. Match the print settings to the paper
Set the paper type
In the print dialog, open the printer properties or options and choose the paper type that matches what you loaded, such as a glossy or matte photo paper setting.
Choose a high quality setting
Select the highest or “best” quality mode. It prints more slowly but places ink more precisely.
Choose the paper size and borderless option
Set the paper size to match the sheet, for example 4 × 6 in (10 × 15 cm). If you want edge-to-edge prints, choose borderless printing if your printer supports it; some of the image is trimmed at the edges.
3. Prepare the image
Check the resolution
As a rough guide, aim for around 300 pixels per inch of print. A 4 × 6 in print therefore wants about 1200 × 1800 pixels. Much less than that and the print may look soft.
Avoid extra compression
Print from the original photo file rather than a copy that has been shrunk for messaging or social media.
Lower screen brightness when editing
If prints consistently look darker than your screen, editing with the screen brightness turned down a little often gives a closer match.
4. Handle prints while they dry
Let them dry flat
Lay inkjet photo prints face up and avoid stacking them or touching the surface until they are fully dry, which can take a little while on glossy paper.
Store prints away from sunlight
Strong sunlight and heat fade prints over time. Albums, frames with UV-filtering glass and cool, dry storage help them last.
If it still isn’t working
Streaks or missing colours? Print a nozzle check and, if needed, clean the printhead.
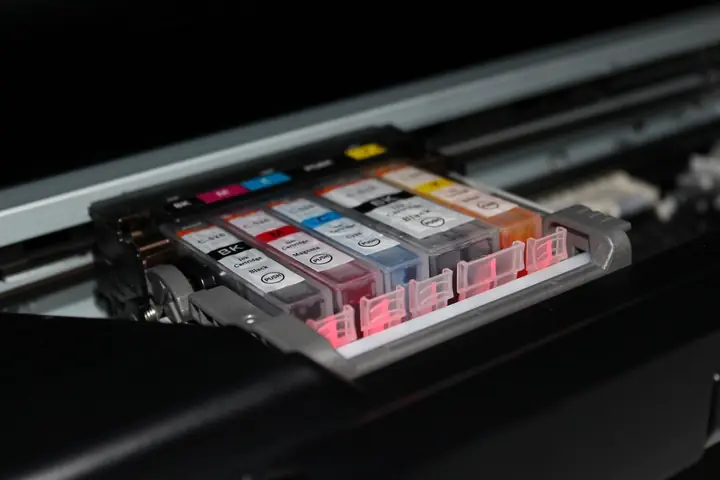
Colours are consistently off? Check that genuine or compatible ink of the correct type is installed and that no colour is empty. Our ink vs toner guide explains supplies.
Frequently asked questions
Can I print photos on normal paper?
You can, but plain paper absorbs ink so colours look duller and the paper may wrinkle. Photo paper gives much better results for pictures.
Why are my photo prints darker than on screen?
Screens emit light while prints only reflect it, and screens are often set very bright. Turning screen brightness down a little while editing usually brings the two closer together.
What is borderless printing?
Borderless printing extends the image to the edges of the paper. To do this, the printer enlarges the image slightly, so a small amount around the edges is cut off.